Step by step instructions can be found 2littlehooligans.com. With a title of the website/blog like that, who can resist? She has tons of great fun projects. I am sure I will be using her ideas for other projects too.


I took step by step pictures of the wash clothes with my camera (not the Ipad) and what do you know... I don't have a clue as to where the cord to connect to the computer is. The pics above are from the ipad. Maybe when Bryan gets home, he can find it and then I can share. Dang... I was really proud of myself too... next time.
I found the cord!!! Go figure... it was in the computer draw... you know, because it connects the camera to the computer :)
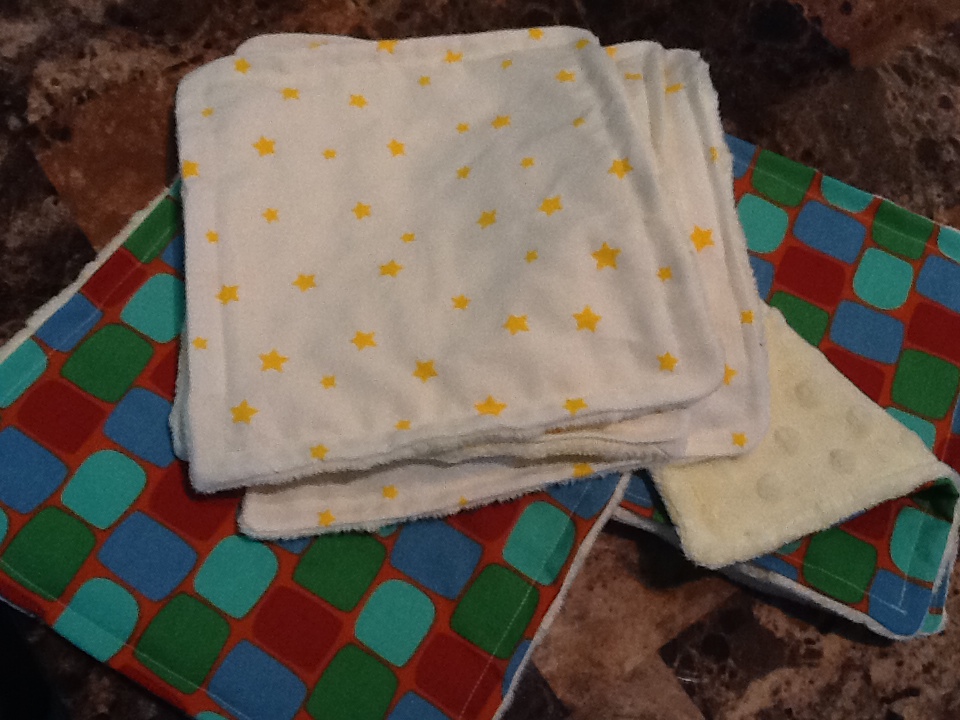
To start this project, you will need your choice of decorative (cotton) fabric and a minky fabric. (I didn't know what 'minky' was, so I had to ask at Hobby Lobby. Turns out they call it Micro Fleece there.) I got 2 different cotton fabrics out of the fat quarter section. You can get roughly 4 washclothes (each fabric) out of that amount. I bought a quarter of a yard of the Micro Fleece and was able to get 7 pieces out of it with some scraps left behind.

Lay the correct sides of the fabric together.

Lay your templet on top and pin it in place. (I used a file folder so that it would have more stability to it. I cut the templete to be 8 1/2" X 10". You really can do whatever dimention you want as long as it works best with your fabric. I also used a cup to trace the corners so that they would be somewhat uniformed)


Cut out following the templete.

Because your correct sides are already facing inward, pin your pieces together. A friend of mine (shout out to Melissa) taught me that wherever you start and stop, put double pins so you know when you are sewing. This might be common knowledge... but I didn't know it. :)

Now you are ready to start sewing.


Sew all the way around, starting and stopping at your double pin marks. When you finish, you should have a small opening for you to be able to flip it right side out.

Go ahead and trip the edges along your sew line, leaving the opening uncut as shown:

Flip it right side out and be sure to get the corners flipped all the way. I used my scissiors, don't know if that is the best way... but it's how I did it :)


Tuck in the opening pieces so that they are aligned with the parts that are already sewn together.


Pull out that good ole ironing board and press the seams. The unsewn part should be hard to see, but when you do the second round of stiching (I am sure there is a name for that) it will fall right into place. If you don't iron it, it would be much more difficult and move around when you need it to stay put.


Now you are going to do another round of sewing, going all the way around this time. The first one I made, I tried to get it really close to the edge. But the rest I did about half an inch or so in, and I think those look better.


Finish up. Be sure to trim any extra threads hanging around.


Enjoy!
Love your blog!
ReplyDeleteI'm so excited about your blog, the wash cloths, AND that you're Baby Nathan's aunt! :)
ReplyDelete