Do you remember the TV stand for the study? Well I made these pillows to match.
We were in need of some pillows for the study anyway and when we came up with our plan for the TV stand, it was just natural to follow suit with chevron pillows. I started looking for for the stuffing for pillows and did you know pillow forms can be expensive?? Yikes!
I came across an idea on a blog to use the cheap pillows from Walmart or Ross as the "Fluff" in your homemade pillows. She took a full size pillow and rolled it up making long cylinder pillows. That got me thinking about trying to use pillows from there, but re-sizing them to fit my needs.


I had this brilliant plan in my head to cut the two pillows in half and then sew up the seams that I had opened. In talking with my mom, she thought it might be better to sew two seems close together first and then cut them open. I thought she was wrong... but that maybe I should heed her advice.

I pinned a line for me to follow as a guide down the center of the pillows.

I started at my machine and I was determined to make it work. I made the stitch seem longer to help get it through the machine. It made it almost half way before jamming and making my poor machine make an awful noise! I carefully got it un-jammed but was afraid to try again.

I finished the seam by hand stitching it.

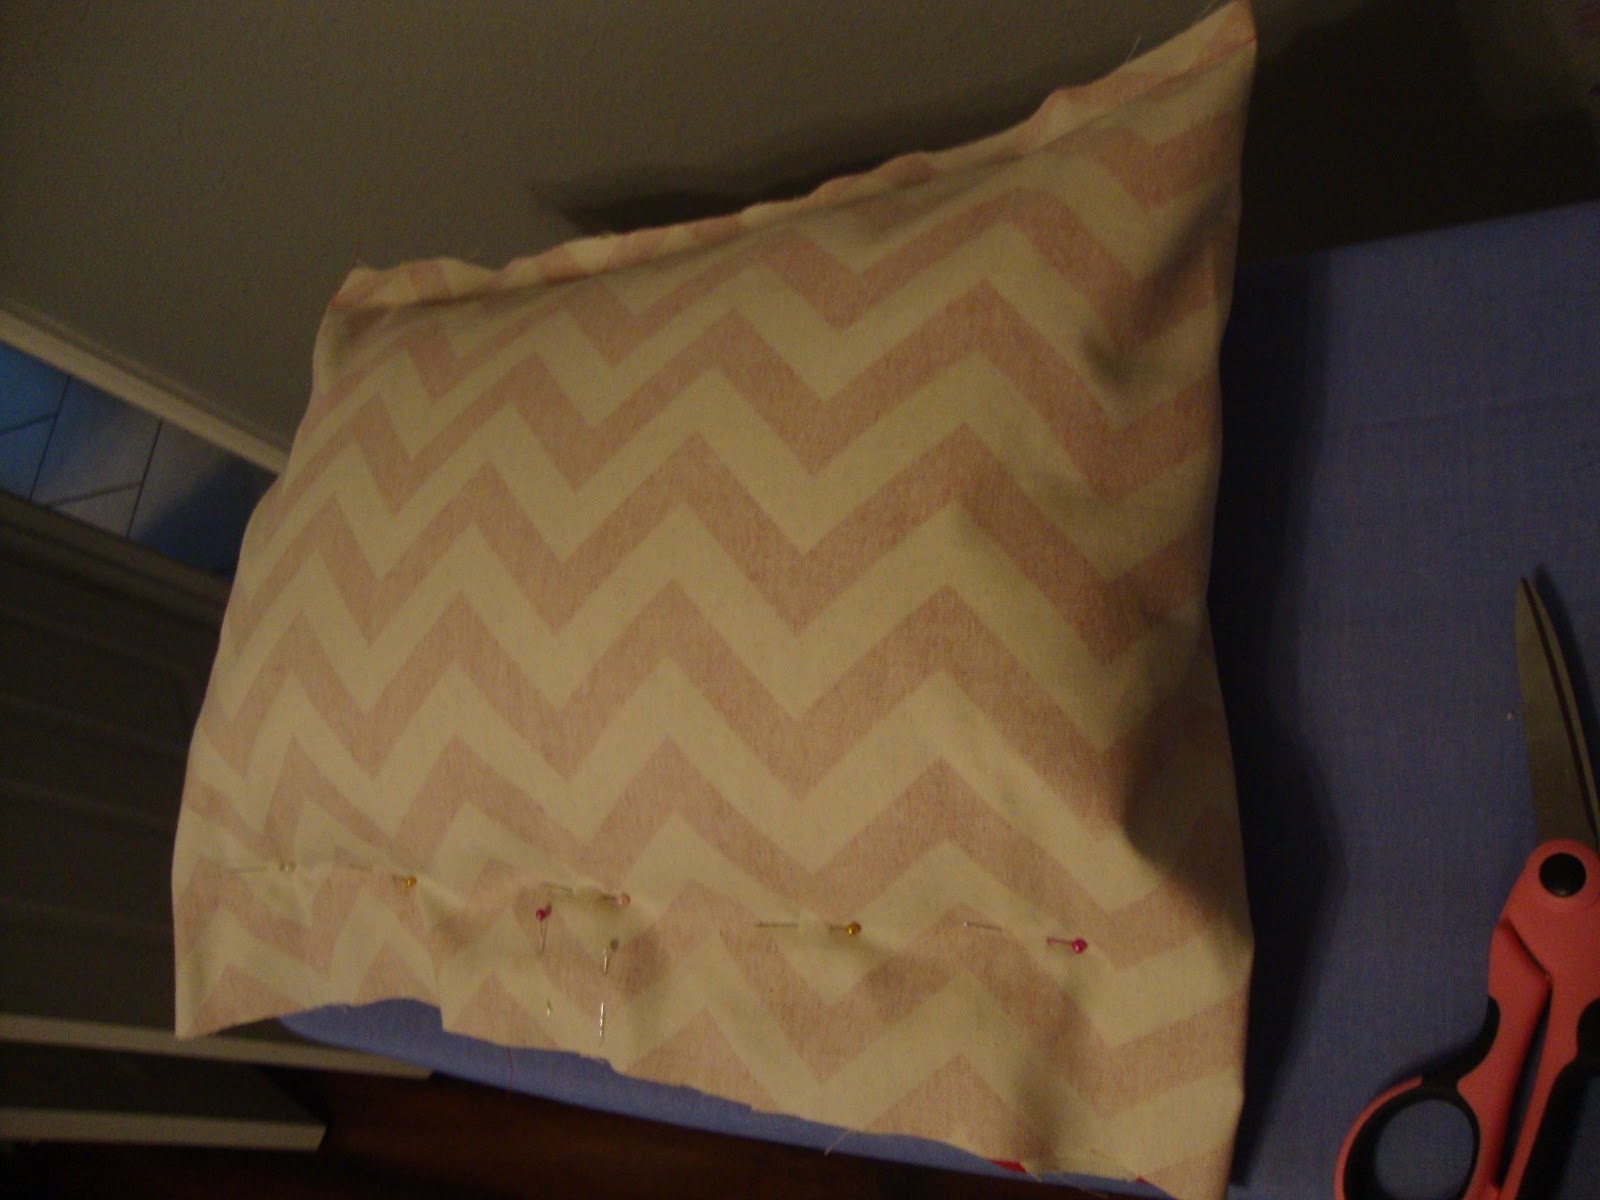
I then hand stitched a second seam really close to the 1st one. You can see it if you look closely.


I then carefully cut between the two. I had planned on running the seems through the machine again to give it an more sturdy finish, but I couldn't even get that to work. The hand stitched seams looked like they would hold up and as long as the slip cover is made well enough, it should be fine.

So then fast forward a few weeks (I had a few other projects that took priority...) and I got started on the slip covers. Pintrest had a ton of no-sew slip covers... but I have a sewing machine and wanted to use it. I finally found a blog with a sew slip cover. But to be honest... it was kind of confusing. I used her ideas as a "rough" guide and then made the rest up myself. This is what I did:
The diminutions of my pillows were 20 X 13 and about 4 inch deep. The width of my fabric was 45 inches, which was enough for the length of 20 (x2) plus 5 inches overlap. I cut it 17 inches long (enough for the height of my pillow (13 plus 2 inches on each side).

I pressed the short sides (17 in) on both sides


Then, with the correct side facing inward, I placed the pillow centered and squared until I was satisfied.

I wrapped it up, and then pinned where the seams should go. This wasn't exactly square, but it worked for now.


Then I pulled the pillow out...

...for a flat cover like this.

I took my straight edge and made a pencil line that was square. (It would have driven me crazy if it wasn't square!)


Because this was my first pillow to make, I put the stuffing back in the cover just to make sure I was still aligned and square. I didn't do this on the next 3 pillows, but I was still figuring out what I was doing. If you decide to make covers for yourself, I would suggest double checking until you feel confident in what you're doing.
I made a few small adjustments needed and then sewed this line, removing the stuffing first. I trimmed the excess off.

And flipped in right side out. This is the front view:

And this is the back view:

I put my pillow inside the cover, and this is what I got.

When I was all done I had 4 pillows--2 red and 2 grey.


I think Paco approves!


No comments:
Post a Comment