Saturday, June 23, 2012

CrockPot Cheesecake... yes please!

Tonight we are going to have a blast at our small group's game night!  I have been looking forward to this all week.  I know that I just made the cheesecake cookie dish to take to small group on Tuesday, but I saw this and couldn't help myself.  We have lots of cheesecake lovers in our group, so I figured this will either be a bust or a must!

Ingredients:
1 cup graham cracker crumbs (about 5 full gram crackers)
2 Tbs brown sugar 
3 Tbs melted butter
2-8oz cream cheese, room temperature (mine were room temperature"ish")
2 eggs, room temperature (again... "ish")
1/4 cup heavy cream  (I didn't have cream, so I googled substitutes.  I used 3/4 milk added 1/3 cup melted butter to make the cream.  Yes I know it was too much, but I was too lazy to do the math to figure out the right portion of each.  I just scooped out the 1/4 cup needed and didn't worry about the rest)
1 tsp vanilla
1 Tbs flour

You will also need a CrockPot and a dish that fits inside your CrockPot.  I used my oval CorningWare dish, be sure to spray it with Pam first.

I started off making the crust. (Duh!)  Crush those bad boys up (the graham crackers) .
Add the brown sugar and melted butter, I also added a dash of cinnamon (Hey, I did just make that bread)
Mix it all together and then spread it out in the bottom of your CorningWare.


Then in my mixer, I mixed everything else: cream cheese, eggs, cream, vanilla and flour.  Mix until it is smooth.  Pour on top of your crust.


Now, add 1 cup of water to the bottom of your CrockPot.  (I did a 1 1/2 cups because of issues I am having with mine.)  Gently set your cheesecake into the CrockPot, being careful not to splash water into your cheesecake.... gross! 


The CrockPot was off at this point, but then turn it on high.  Cook for 2 hours, until the corners start to darken just lightly and you can touch the top of your cheesecake and it stay the way it is. 

Then you need to turn off the CrockPot and let your cheesecake cool for 1 hour while still in the CrockPot (with the lid).


Now move to the refrigerator for at least 2 hours before you serve!  It turned out to be delicious!  It wasn't hard to do, but I did feel like baking it in the oven would have been the same.  Cooking it in the CrockPot didn't make it any faster to make.  Bryan told me he liked the last Cheesecake Bar that I made earlier in the week better than this one.
 
And then, when I'm done.... Is this how you know you did a good job?  It always looks like this! Bryan was very sweet and came to help me clean up.  :)


Friday, June 22, 2012

Banana Cinnamon Swirl Bread, this is a must!

I love pintrest!  Everyone who is close to me will probably read this and laugh because they know it is so true.  I have two food boards, one is a board of recipes I want to try, and one is a board of recipes that I have tried with my own personal notes.  The notes are really more for myself to remember how the food turned out, how much Bryan liked it etc.  Recipes start out of the first board and then get moved to the second once I have made them.  It helps keep order in my life.  I need order... :)


Well, I made Banana Cinnamon Swirl Bread. I followed the recipe from lovintheoven.com.

Ingredients:
3 over-ripe bananas, smashed up
1/3 cup melted butter
3/4 cup sugar
1 egg, beaten
1 tsp vanilla
1 tsp baking soda
dash of salt
1 1/2 cups flour

You will also need an additional 1/3 cup sugar and 1 Tbs cinnamon for the swirl part of the bread.


I used a glass bread dish and really like how it cooked.  I also have a metal one that I will try next time to see which one I like better.  They are both standard bread dish sizes (mine are the ones that come in the packs of Pyrex when you register for your wedding). 

1.  Preheat oven to 350 and spray your dish with Pam.

2.  Mash your bananas with a fork in a medium size mixing bowl, apparently it is important that you use over-ripe bananas.
3. Move bananas into a larger bowl and add butter, sugar, egg and vanilla and mix--gotta love that KitchenAid!
4. Once all combined (it should look kinda "goopy"), Sprinkle the baking salt and salt. 
5.  Add the flour and gently hand stir the dough, being careful not to over mix. 
6.  Combine the sugar and cinnamon and stir in a separate bowl.  (I didn't really measure, I mean too much sugar?  No way!)
7.  I lightly dusted my greased dish with the sugar mixture and then poured 1/2 of the bread dough into the pan making sure it is fairly even across the pan. 
8.  Evenly layer about half of your sugar mixture across the dough  (this is the swirl part).
9.  Add the rest of your dough and then top it off with the remainder of your sugar. 
10.  Pop in the oven for 50-60 minutes until cooked (mine took closer to 60 than 50). 
11.  Let the bread cool some before you remove it from the pan.


Look at that swirl!  How much better can it get?  Cut a slice and enjoy!  I add a little bit of butter and let it melt on my bread, HEAVENLY!


Wednesday, June 20, 2012

Cheesecake Deliciousness

The other day when my sewing machine quit working, I got very frustrated and decided to cook something. I know how stereotypical that sounds. But I am a huge Pinterest person and had gotten the stuff to make this Cheesecake Sugar Cookie Bars earlier, so it made sense to start making these. I got this recipe from www.justapinch.com


Trust me when I say these are delicious! Here are the ingredients needed:
1 Betty Crocker Sugar Cookie Pouch (the powder, not the dough)
1 small box of French Vanilla pudding
2 TBS Brown Sugar
1 Stick of melted butter (1/2 cup)
3 tsp vanilla
2 eggs + 3 more egg whites
2 packages of 8 oz cream cheese
1/2 cup of sour cream
1/2 sugar 
2/3 cups toffee bits (i picked up heath bits not realizing it had chocolate, and didn't use it... but I guess
                                 I could have.)


Start off by preheating the oven to 350 degrees. Then begin combining the Betty Crocker Sugar Cookie Pouch, French Vanilla pudding, Brown Sugar.  Mix in the melted butter, 1 tsp of vanilla and 1 egg


Take out the dough and place it in your greased 9x13 glass baking dish, and press it out in the bottom of the pan and up the sides of the dish some.  I thought of it as the dough forming a "bowl" for the cheesecake part of the dish.


Next, start of the cheesecake portion.  Beat the cream cheese, sugar, sour cream and remaining eggs (1 egg and 3 egg whites).  Add the reaming 2 tsp of vanilla and beat until smooth. 


Pour the cheesecake into the sugar cookie crust.  Spread evenly in dish. 


Place dish in over for 25-30 minutes.  I ended up cooking mine closer to 30 than 25 minutes.


When it comes out of the oven, let it cool for about an hour.   If you are going to add the toffee, this is the time to do it.  Then stick in it the fridge for at least 3 hours, over night is best.


Now, I am about to head back to that sewing machine to see if I can figure it out... I'll let you know how it goes. :)

Tuesday, June 19, 2012

His Grace is Sufficient

"My grace is sufficient for you, for my power is made perfect in weakness"  --Jesus (2 Cor 12:9)

About a week ago, I woke up in the middle of the night with this terrible, helpless feeling that something was wrong.  I didn't know what it was, or who it was affecting in my life but all I could do was pray.   I didn't know if it was someone in my family, or Bryan's or a dear friend, but I spent about 5 minutes in sheer panic before I realized that I needed instead to lift these feelings up to the Maker of the Universe. 

My prayer went something like this, "God, HELP!  I don't know what is going on, but you do.  I am trusting that you do.  Please be with all that I love, and even those that I don't, that last part was honestly hard to say, but you know my heart, oh God."  I just repeated that for about 30 minutes or so before I fell back asleep.  I was afraid to wake up in the morning, only to find out nothing (that I know of) went wrong.

I have found comfort recently in this passage from Matt 11:28-30,  "Come to me, all you who are weary and burdened, and I will give you rest.  Take my yoke upon you and learn from me, for I am gentle and humble in heart, and you will find rest for your souls.  For my yoke is easy and my burden is light."

I cannot tell you how many times I have heard this passage in my life: in sermons at church and in Sunday School, at weddings and other Bible studies, on T-shirts and pictures and many other places.  But in my sudden anxiety, this brought me a peace that surpasses all understanding. Over-whelming anxiety is something that is new to me.  I sure hope it doesn't become a habit.  I found that the two verses mentioned about have brought me peace, even when my yoke wasn't easy, His was. 

What verses do you find comforting?

I want to leave you with this:

"To you, O Lord, I life up my soul;
in you I trust, O my God.
Do not let me be put to shame,
nor let my enemies triumph over me.
No one whose hope is in you
will ever be put to shame,
but they will be put to shame
who are treacherous without excuse.

Show me your ways, O Lord,
teach me your paths;
guide me in your truth and teach me,
for you are God my Savior,
and my hope is in you all day long.
Remember, O Lord, your great mercy and love,
for they are from of old.
Remember not the sins of my youth
and my rebellious ways;
according to your love remember me,
for you are good, O Lord.

Good and upright is the Lord;
therefore he instructs sinners in his ways.
He guides the humble in what is right
and teaches them his way.
 All the ways of the Lord are loving and faithful
toward those who keep the demands of his covenant. 
For the sake of your name, Lord,
forgive my iniquity, though it is great. 

 Who, then, are those who fear the Lord?
He will instruct them in the ways they should choose.
They will spend their days in prosperity,
and their descendants will inherit the land.  
The Lord confides in those who fear him;
he makes his covenant known to them.
My eyes are ever on the Lord,
for only he will release my feet from the snare.
Turn to me and be gracious to me,
for I am lonely and afflicted.
Relieve the troubles of my heart
and free me from my anguish. 
Look on my affliction and my distress
and take away all my sins. 
See how numerous are my enemies
and how fiercely they hate me!
Guard my life and rescue me;
do not let me be put to shame,
for I take refuge in you.
May integrity and uprightness protect me,
because my hope, Lord, is in you.
Deliver Israel, O God,
from all their troubles!


Psalm 25


Saturday, June 16, 2012

****I HAVE FINISH THIS PROJECT NOW, AND MY MACHINE ISN'T BROKEN, JUST USER ERROR***


So in starting my next project, I might have broken my sewing machine.  To be honest I have no idea where to go from here. 

The dress was supposed to be so easy, and maybe in theory it is. I really struggled with it. Here is how it started.


With your top on, figure out what height you want your skirt to come up.  I pinned the line and then carefully took off the top.
 

I measured down to the pin and added about 1/2 inch for sewing.  Mine measured 15 1/2" 


Putting the skirt part back on, wrap it around you 1 1/2 times.  Cut off the remainder of that.  I cut off about from my elbow out.  I got to tell you, my measuring is very efficient... not! 


Placing the correct sides together, I pinned the two edges together.


Sew a simple line all the way down the height of the skirt.  So now you have a "boxy" skirt. 


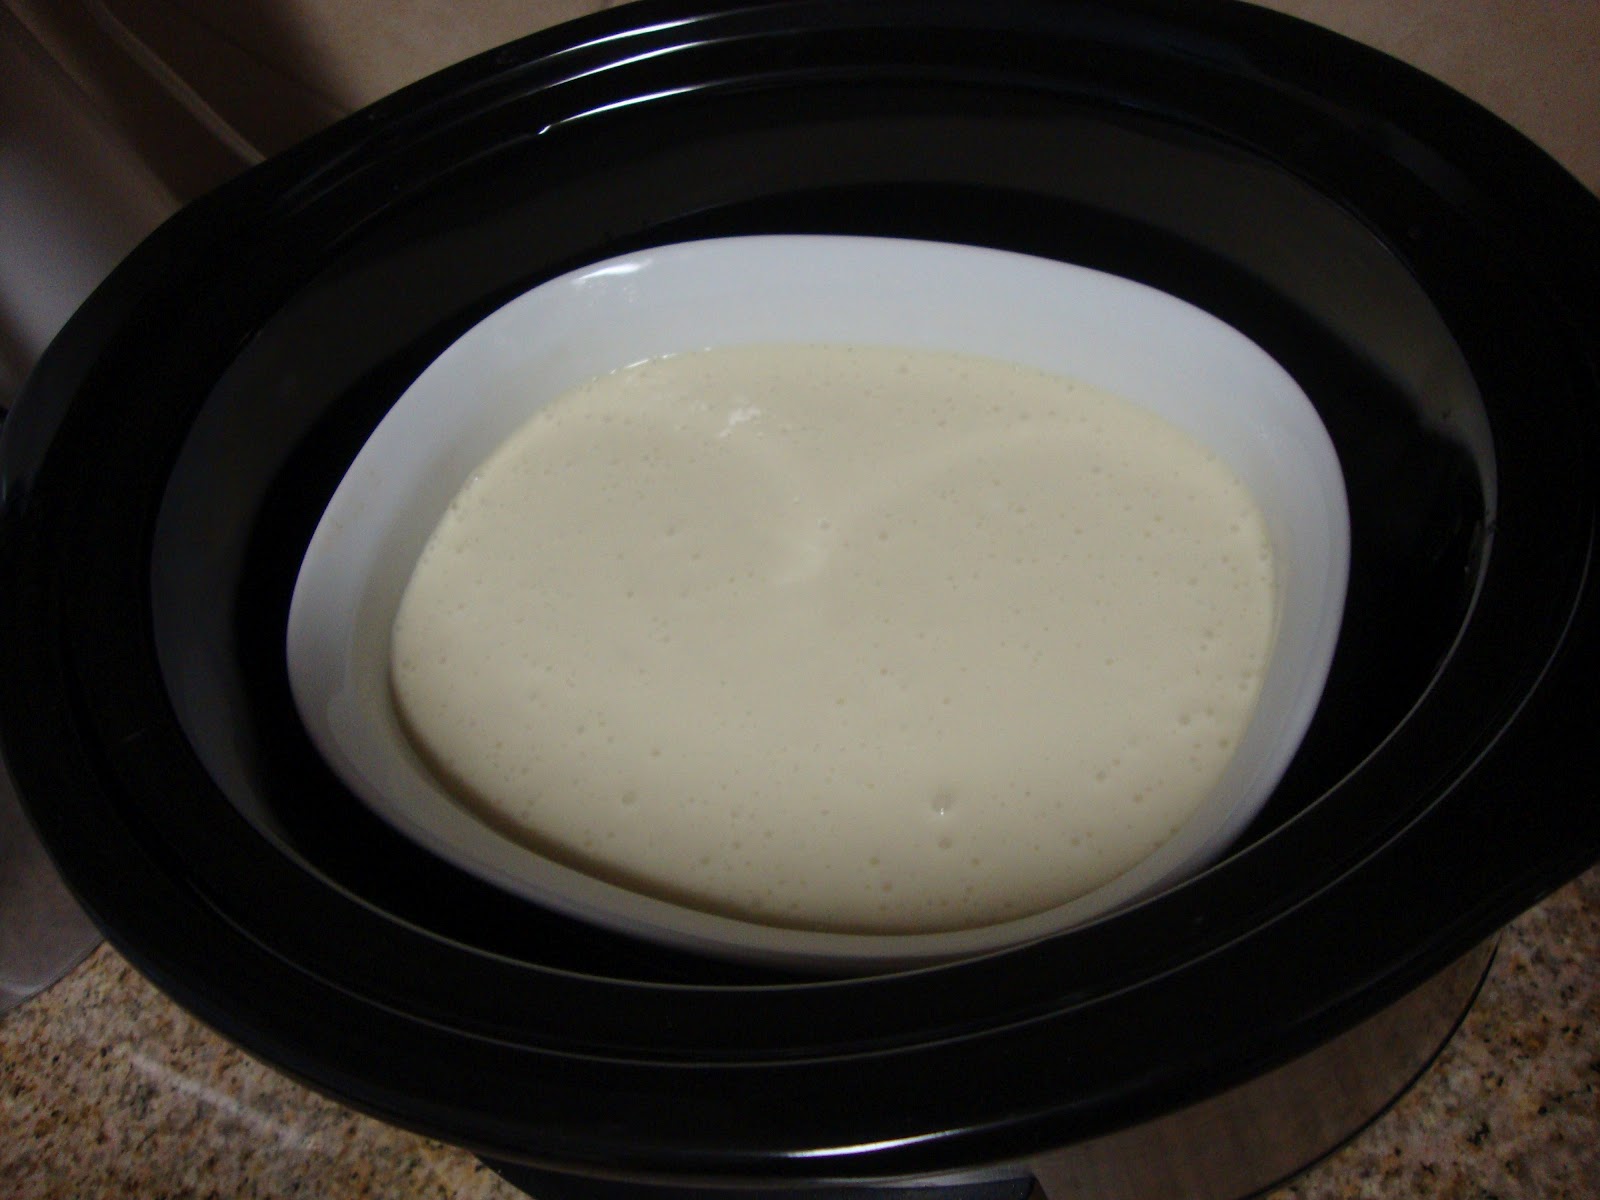
This is where my project derailed a little. (and by that, I mean A LOT!!).  Now, I am supposed to start on the waist line of the skirt.  Using elastic thread, I wound a bobbin. 


You want to use the regular thread on the top, but elastic in the bobbin. You also want to use a long stitch so that it naturally ruffles the top edge of your skirt. I didn't know what a long stitch was, so I just got started. But about half way done, I realized the skirt wasn't ruffling. So then I started messing with my brand new machine... never good! 

This is where I think I broke my sewing machine.  Something happened in the bottom of the machine, and now every time you try to sew, it catches and pins the cloth down into the machine... making a huge mess.  I ended up having to cut the fabric to try and get it out. I then would have to disassemble the machine to try and get the thread out from underneath.  It was a nightmare!  I have tried probably 10 time to sew again, and every time it happens again.  I have changed the type of thread back to normal and reset the stitch settings.  I think I might have bent something underneath... I have no idea how to fix this one! 

Any ideas or suggestions?--- CHANGE THE NEEDLE!

Thanks to a friend, my sewing machine is not longer in danger of being thrown against the wall (for now).   I had been cleaning out the bottom every time the thread was getting caught, but it was the needle that need to be changed.  Oh, the things I still need to learn!

Once my machine was fixed I started this project up again, however the skirt still wasn't ruffling.  My wonderful sister-in-law, Jessica, came over for a day of fun-filled sewing.  She knows SOOOOOOOOOOOO much more than I do and even between the two of us and about 5 hours or so, we couldn't get the skirt to ruffle.

We followed the exact instructions and then Jessica started reading other peoples responses to this blog to find out that everyone else had these problems too.  We tried two different sewing machines-- adjusting the tension and stitch length to every possible setting-- only to eventually give up on that idea.  (I will say, that because of Jessica--and only Jessica-- we did get the skirt to kinda ruffle, but it wasn't enough)  Then we started brainstorming other ways to create the look needed. 

Jessica taught me how to make a ruffle sewing two lines and then pulling on the bottom stitch of both lines to make the ruffles. 


 However, in all my strength, I broke the thread... and about 30 minutes of painful finger work went down the drain.  Finally I decided to just pin pleats into the dress... that should work, right?  Smooth sailing from there, right?


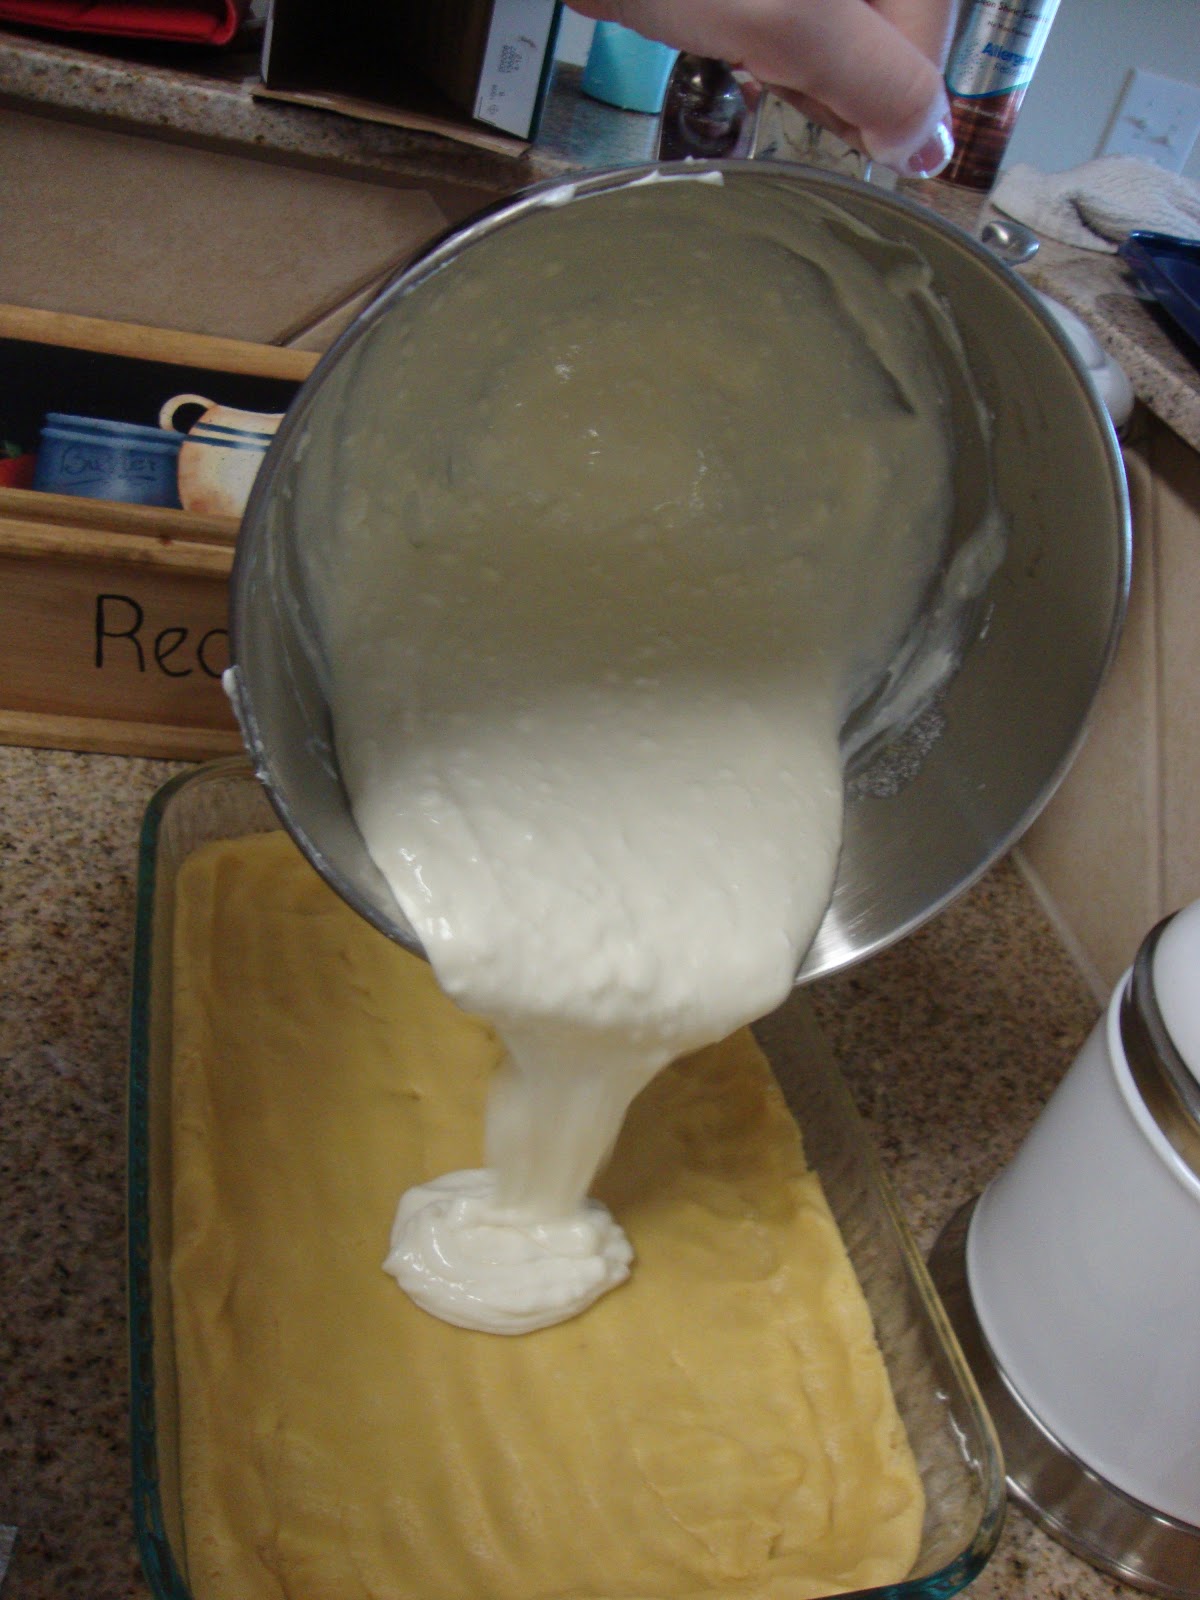
I've got the pleats pinned and the top of the dress pinned in place, so now I am ready to sew them together..... except....


I stinking did it WRONG!!! Ouch!  Jessica thoroughly enjoyed my realization that I did it wrong.  As I started sewing it, I thought to myself how funny it would be if I sewed the top wrong, and then when I finished, Jessica commented on how funny it would be if accidentally sewed the top wrong... and then I flipped the dress right side out...


It was wrong side out!

So my wonderful sister-in-law started the lovely process of ripping out that seem while I started on making the belt for the dress, how hard could sewing a rectangle be?  At least I got that right. (sorry, no picture). 

In the remaining time, we got the seem ripped, and re-pinned the top back into the bottom.  Yes, Jessica double and triple checked that it was correct.  But I ran out of time for that day, so this dress would have to wait once again to be finished. 

This morning, I woke up and hit the ground running.  I was going to finish this dress if it killed me!  I starting sewing the top back into the bottom of the dress (for a 2nd time) only to finish and see this...


The top had gotten caught the seem in some places.  AAAAAAAHHHHHHH!  I ripped out that seem again, and finally finished in what seemed like good timing (for the 3rd time, I mean...).


Now, all I had left to was to hem the bottom of the dress to the correct length. The only problem was that I hadn't ever done a hem before, and I haven't mastered the art of sewing a seem straight...  But I figured it out eventually.  Hems seem like they would be easier if someone else did the pinning as you go, however, it was just me. 


TA-DA!!! :)  The belt is very important in making it not look "frumpy."


I like it!  And if you were willing to read this whole pitiful story... you are a better person that I am! :)