
My husband and I picked out the fabric that we liked one afternoon and then when my sister was in town, the two of us figured out how to do this. Originally, I was going to get a sheet of plywood or a sheet of styrofoam... I wasn't sure exactly how I was going to do it, but I just got started.
I took off the back... 1st step.


The top right corner was broken because of all of the moving... so I hot glued it. I'm not sure that this is the best way to reattach the corner... but it's how I did it. :)
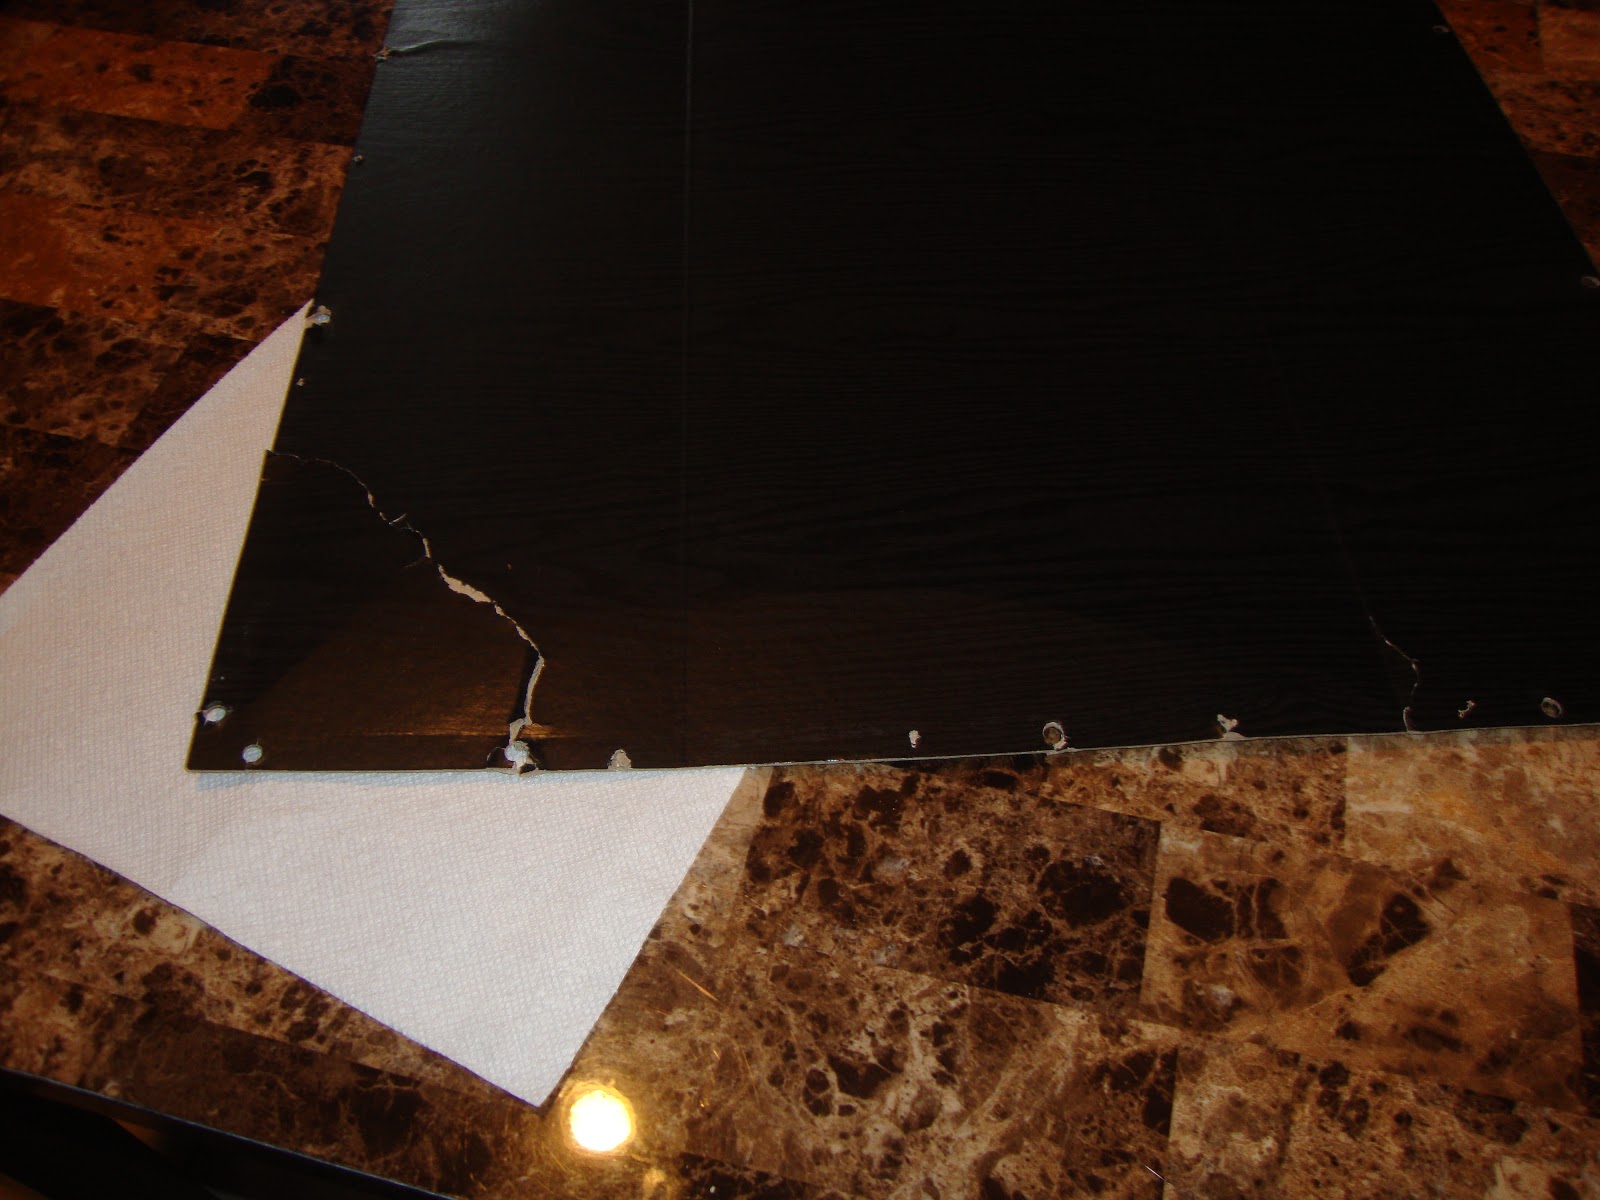
When it was glued together, I ironed the fabric and then spaced it out the way I thought would be best. I am not going to lie, if we had a print that had stripes or a linear/square pattern it would be obvious if it wasn't square. This fabric was very forgiving... thank goodness! I cut the fabric about an inch all the way around.


This is where my sister step in, I really needed 3 hands. She was very helpful with the hot glue gun. I made sure the fabric stayed tight.


The corners were tricky, so I cut the edges to help them fold nicer. (Think of wrapping a present).


Can you begin to see it?

Now, I felt around for the holes that were already there. This was suprisingly a little more difficult than I was expecting, but I found all the holes and poked matching holes in the fabric. I used a screwdriver and scissors to make it possible.


I made sure the screws from the bookshelf would fit through, because once I started assembling the back again, it would be difficult to fix if the screws wouldn't go through.


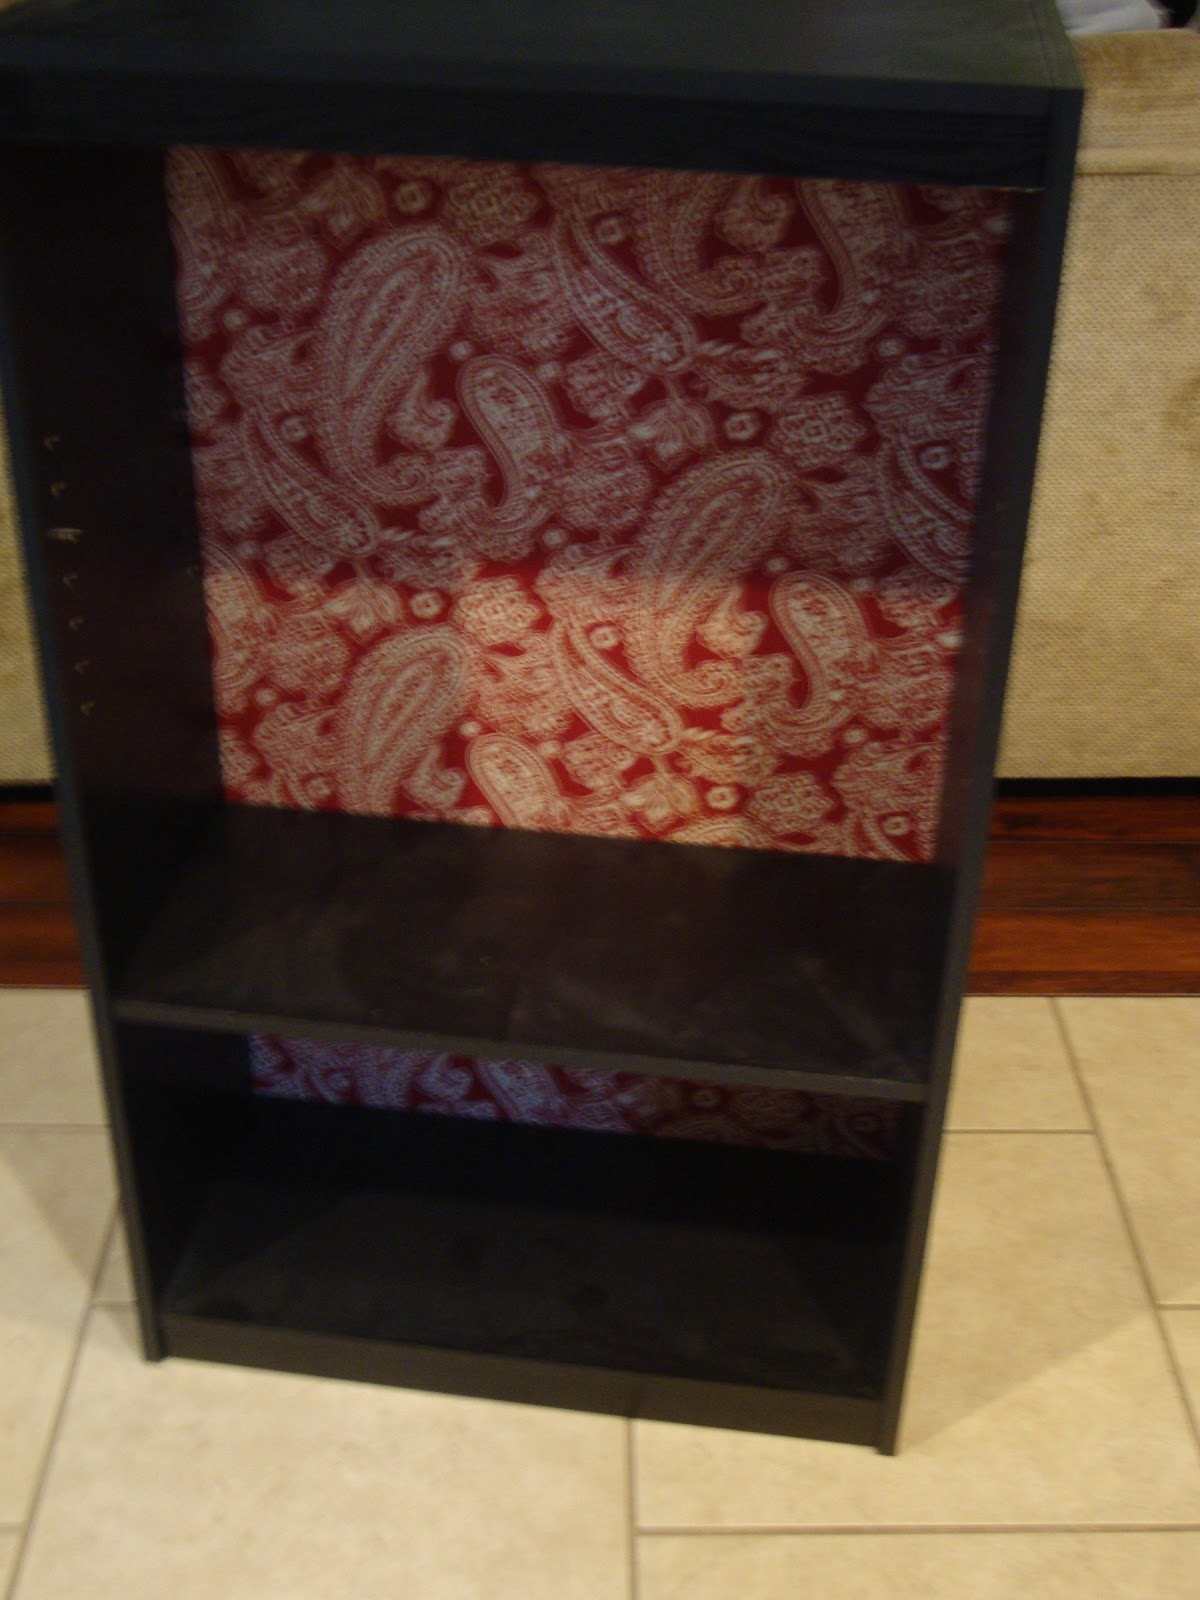
I laid the bookshelf face down and then placed the back on top.

I matched up the screws to their holes before I really punched them in... just to make sure there wasn't a problem.

And ta-da!


We started out putting it in the hallway... but I didn't like it there.
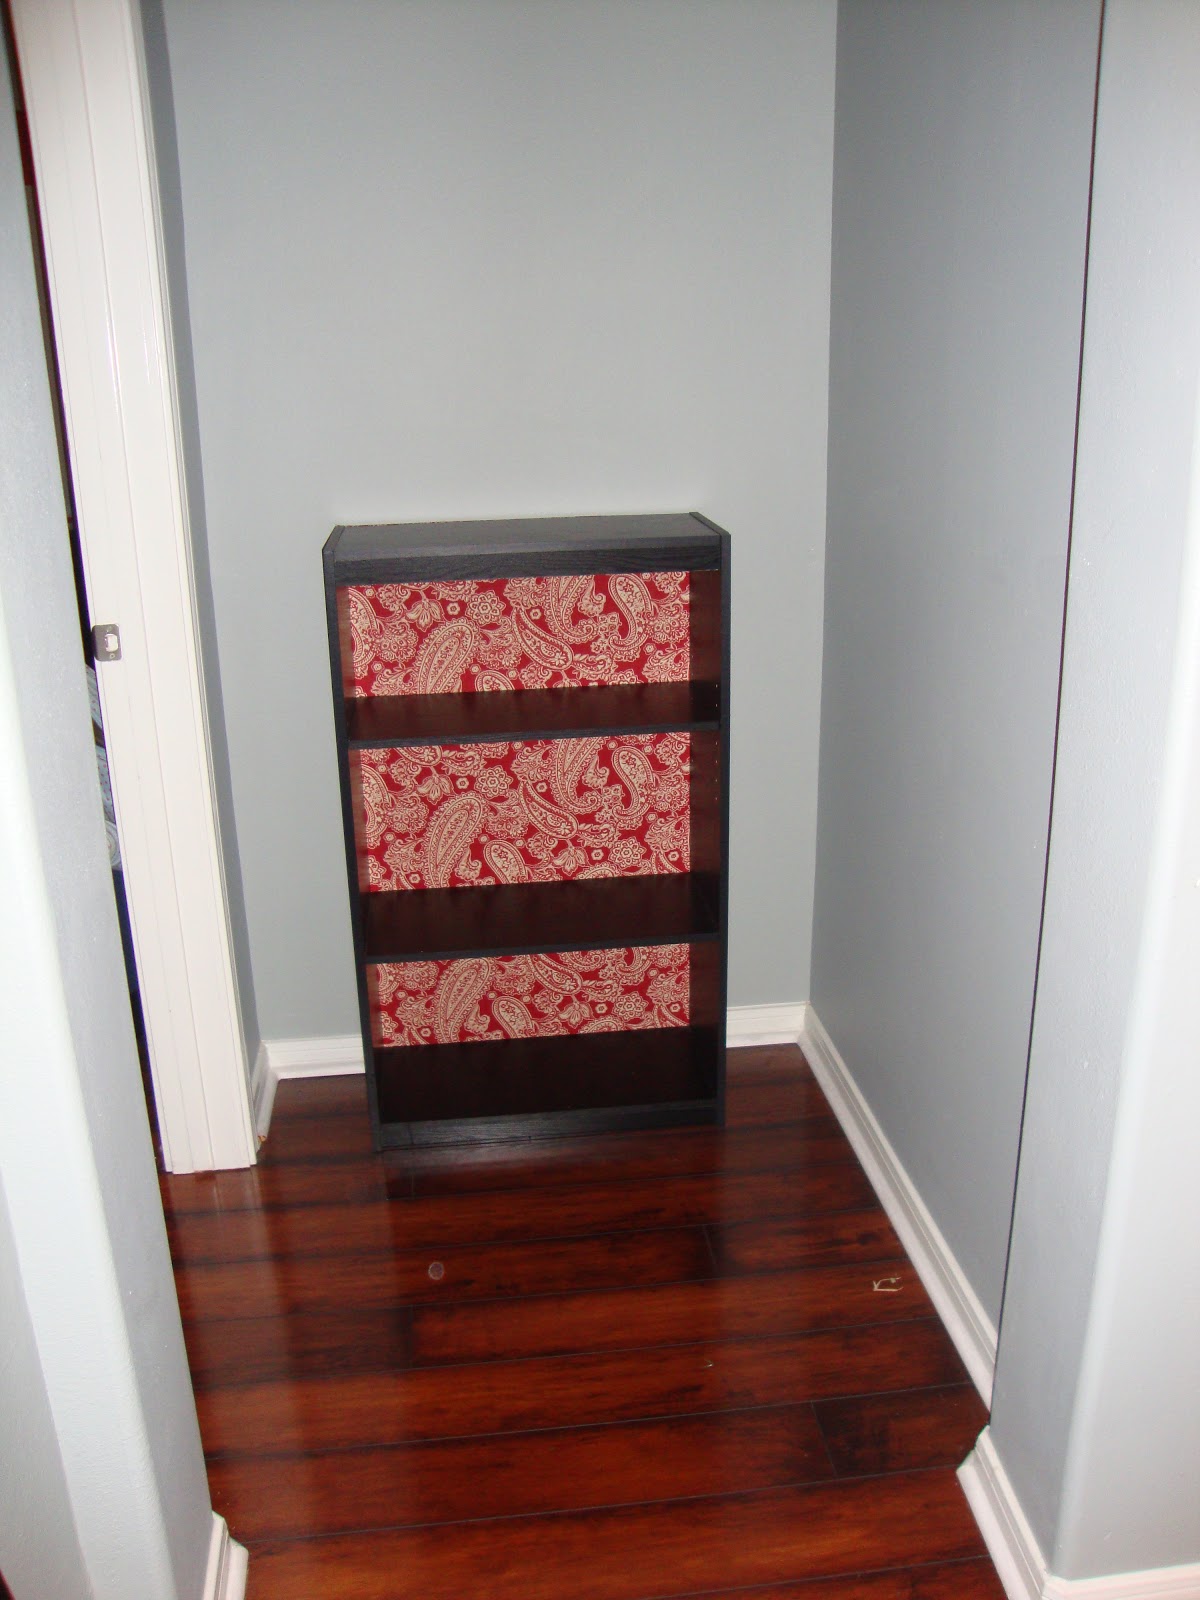
So we tried a new location. Much better!


Ta-da!


Love it! Not too bad of a day. :)
looks great!
ReplyDeleteFantastic! Super creative.
ReplyDelete